
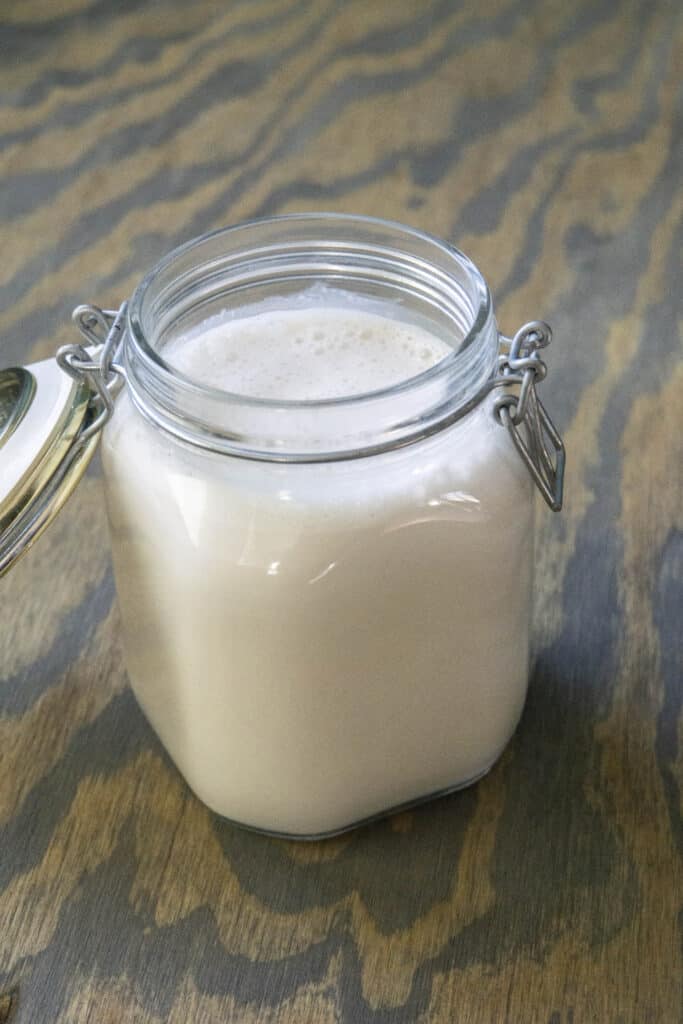
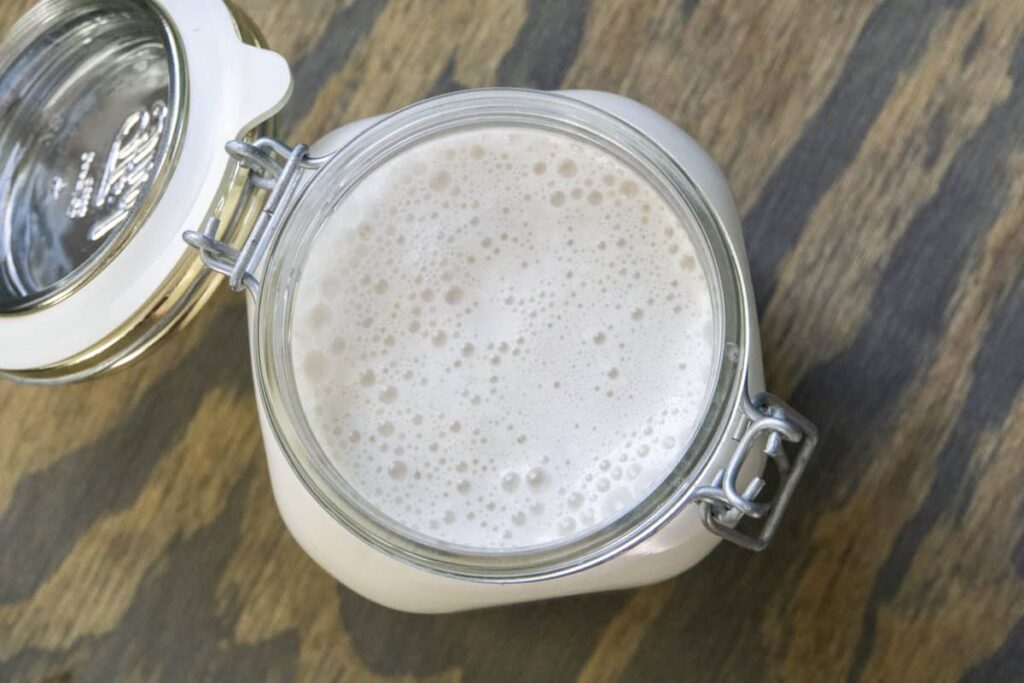
Uber creamy and rich with less waste and more creamy omega 3s than almonds, this walnut milk will become a staple in your morning routine.
It’s super easy to make: just soak, blend and strain. Then you have milk!

Why this recipe works
Homemade nut milk is better than storebought for many reasons.

Besides just tasting better, it is free of harmful additives and preservatives, gums and sugars.
It’s also cheaper! And you can make whatever quantity you would like which could help reduce waste.
Customize this recipe to the quantity you need
Just need a cup of milk? No problem!
Just reduce the quantities in the recipe to make exactly the amount you will need. This can make sure you don’t waste precious nuts.
Homemade Milk > Storebought Milk
- Avoid preservatives, gums, and additives
- Sugar-free
- Fresh
- Customizable quantities
- Zero-waste packaging
Steps to making your homemade nut milk
To make walnut milk you soak, drain, blend and strain!
Soak the walnuts
This is simpler than it sounds. Literally, just put nuts in water, cover and let them sit for 8-12 hours. You can sleep, climb mountains or watch netflic the entire time. The nuts won’t care 🙂
Drain the nuts
You can use the water that the nuts soaked in, but I’ve always thought that the milk tastes better when you use fresh, warm water to blend.
Get the right water:walnuts ratio
Another great part of making your own milk is determining just how thick you want it to be.
For thicker milk or cream, use less water
With walnuts, I like to do a 1:1 mixture of soaked nuts to water. It ends up giving the thick texture I’m looking for.
For thinner milk more like skim milk, use more water
If you like more of a skim milk texture, feel free to add more water. You can go up to 1:3 or 1:4 mixture of nuts:water.
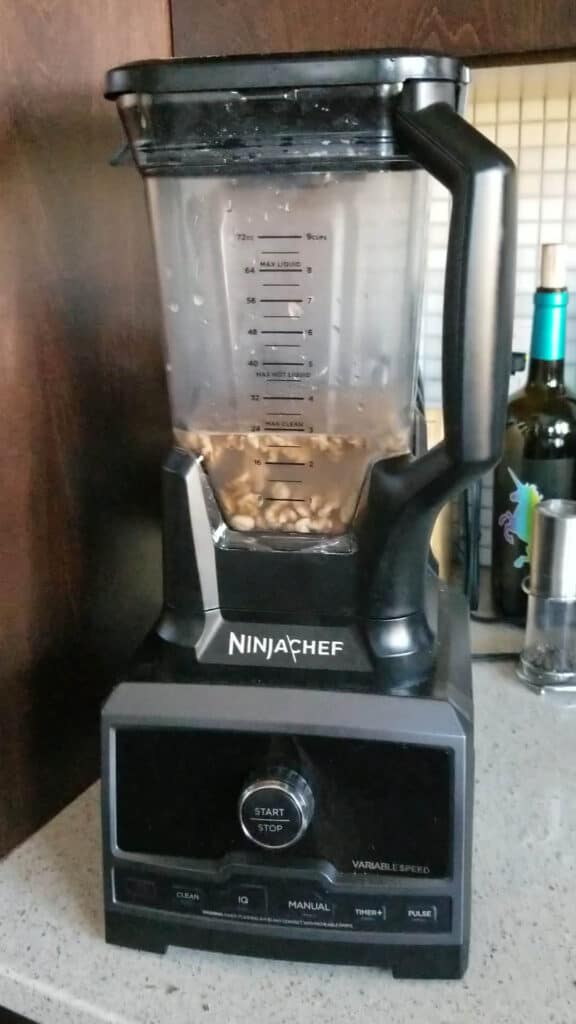
Blend
Add the nuts with fresh warm water in the blender and blend.
With the blender that I use, I put it on puree setting and let it do it’s thing
You can get that blender here. (it’s basically a vitamix at a discount and it’s been going strong for 5 years!)
On any blender, just blend for 45-75 seconds until the nuts are maximally pureed.
Strain
The most difficult part of the job is straining, but it is made much easier with a nut milk bag.
simply pour the blended nut: water mixture into a nut milk bag and then gently massage out the milk.
How to strain Walnut milk:
- Pour the walnut/water mixture into your nut milk bag over a large bowl
- Use your hand to cinch the top and prevent nut pulp from squeezing out of the top
- Massage the milk out into the bowl
- Save the pulp for biscuits, cobbler, or dough bites, and transfer the milk to a mason jar for storage
- Mix in a pinch of salt and vanilla extract
Use the nut milk bag to strain it.
This is the same bag used in blender juice.
See the whole process here:
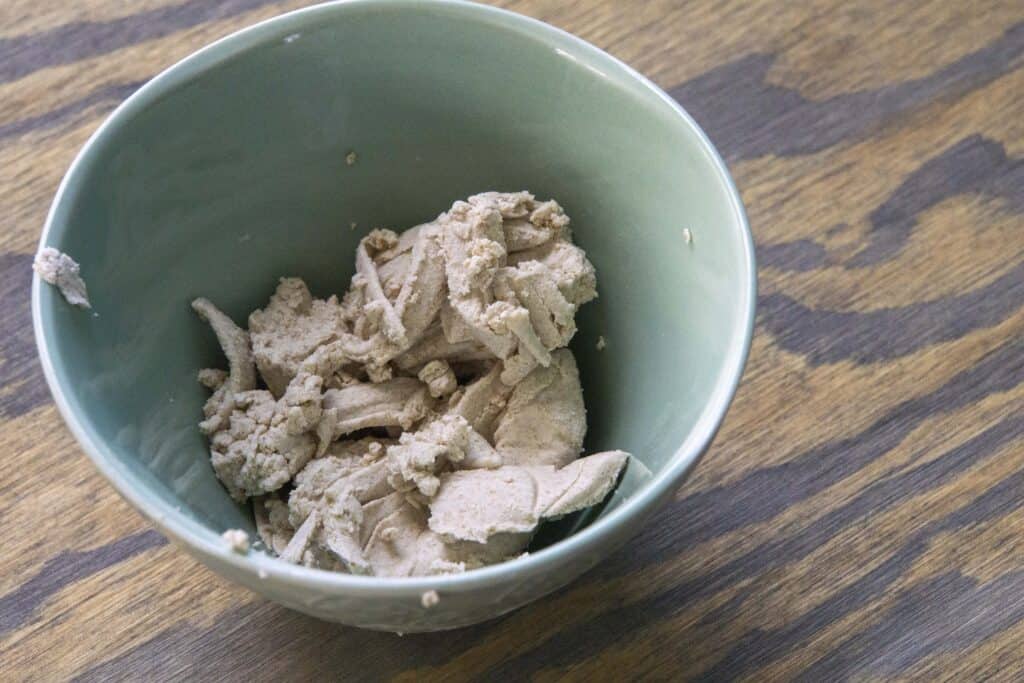
The leftover walnut milk pulp
After straining you’ll have walnut pulp. You can use this in cobblers or to make biscuits. Alternatively, you can compost it.
How to use Walnut Milk
I mostly use nut milk for coffee, but it can be used in any recipe that calls for milk or a milk substitute.
Substitutions
You can make this with any nut or seed! You may want to play around with the textures and flavors of the nuts.
For example, cashew makes really thick milk that doesn’t even need to be strained. However, it ends up having a chunkier consistency, especially when frothed.
Sunflower seeds make a great #nutfree alternative
A few chia seeds added to the nuts can give extra frothiness to foamed milk without the nasty additives.
Try out combinations!
Mix walnuts and pecans, or get crazy and throw in a few cashews and chia seeds too! You can make any combination of nuts and seeds work for this, so play around and find the combo that you like best!
Homemade Walnut Milk
Description
Delicious homemade walnut milk that's easy to make and helps you reduce waste while skipping nasty additives like foaming agents. This recipe can help you reduce waste and is ready as easy as soak, drain, blend, and strain!
Ingredients
Instructions
-
Put walnuts in a mason jar, making sure they have room to nearly double in size. Fill with water covering nuts. Cover and let sit for 8-12 hours
-
Drain nuts and add to blender. Add an equal volume of water as soaked walnuts.
-
Blend until smooth on the puree setting, about 1 minute
-
Strain through nut milk bag
-
Optionally add salt and vanilla and store it in a mason jar for future use.

Nutrition Facts
Servings 12
- Amount Per Serving
- Calories 64kcal
- % Daily Value *
- Total Fat 6g10%
- Saturated Fat 1g5%
- Sodium 1mg1%
- Potassium 43mg2%
- Total Carbohydrate 1g1%
- Dietary Fiber 1g4%
- Sugars 1g
- Protein 1g2%
- Vitamin C 1 mg
- Calcium 10 mg
- Iron 1 mg
* This nutrition information does not tell the whole story of food's nutritional value! Make sure to use your gut intuition on what your body needs, eat your veggies and get 30 plants a week for optimal gut health. This nutritional data is calculated based on the above values and standard brands. This information may vary. Percent Daily Values are based on a 2,000-calorie diet. Your daily value may be higher or lower depending on your calorie needs. Tried this Recipe? Tag me Today! Mention @EatYourWayClean or tag #EatYourWayClean!
Note
To measure the volume of water, notice the height of the soaked walnuts on the mason jar. Then add water to the same level in the same mason jar.