Marshmallows are the best! When we bought our new house and it already had a fire pit installed in the back, my first purchase was cool, new glow-in-the-dark marshmallow sticks. I was sooo excited to break in that fire pit with some delicious, toasted marshmallows.
Despite my mutual love for marshmallows and clean eating, I only recently discovered that you can pretty easily make healthier homemade marshmallows.
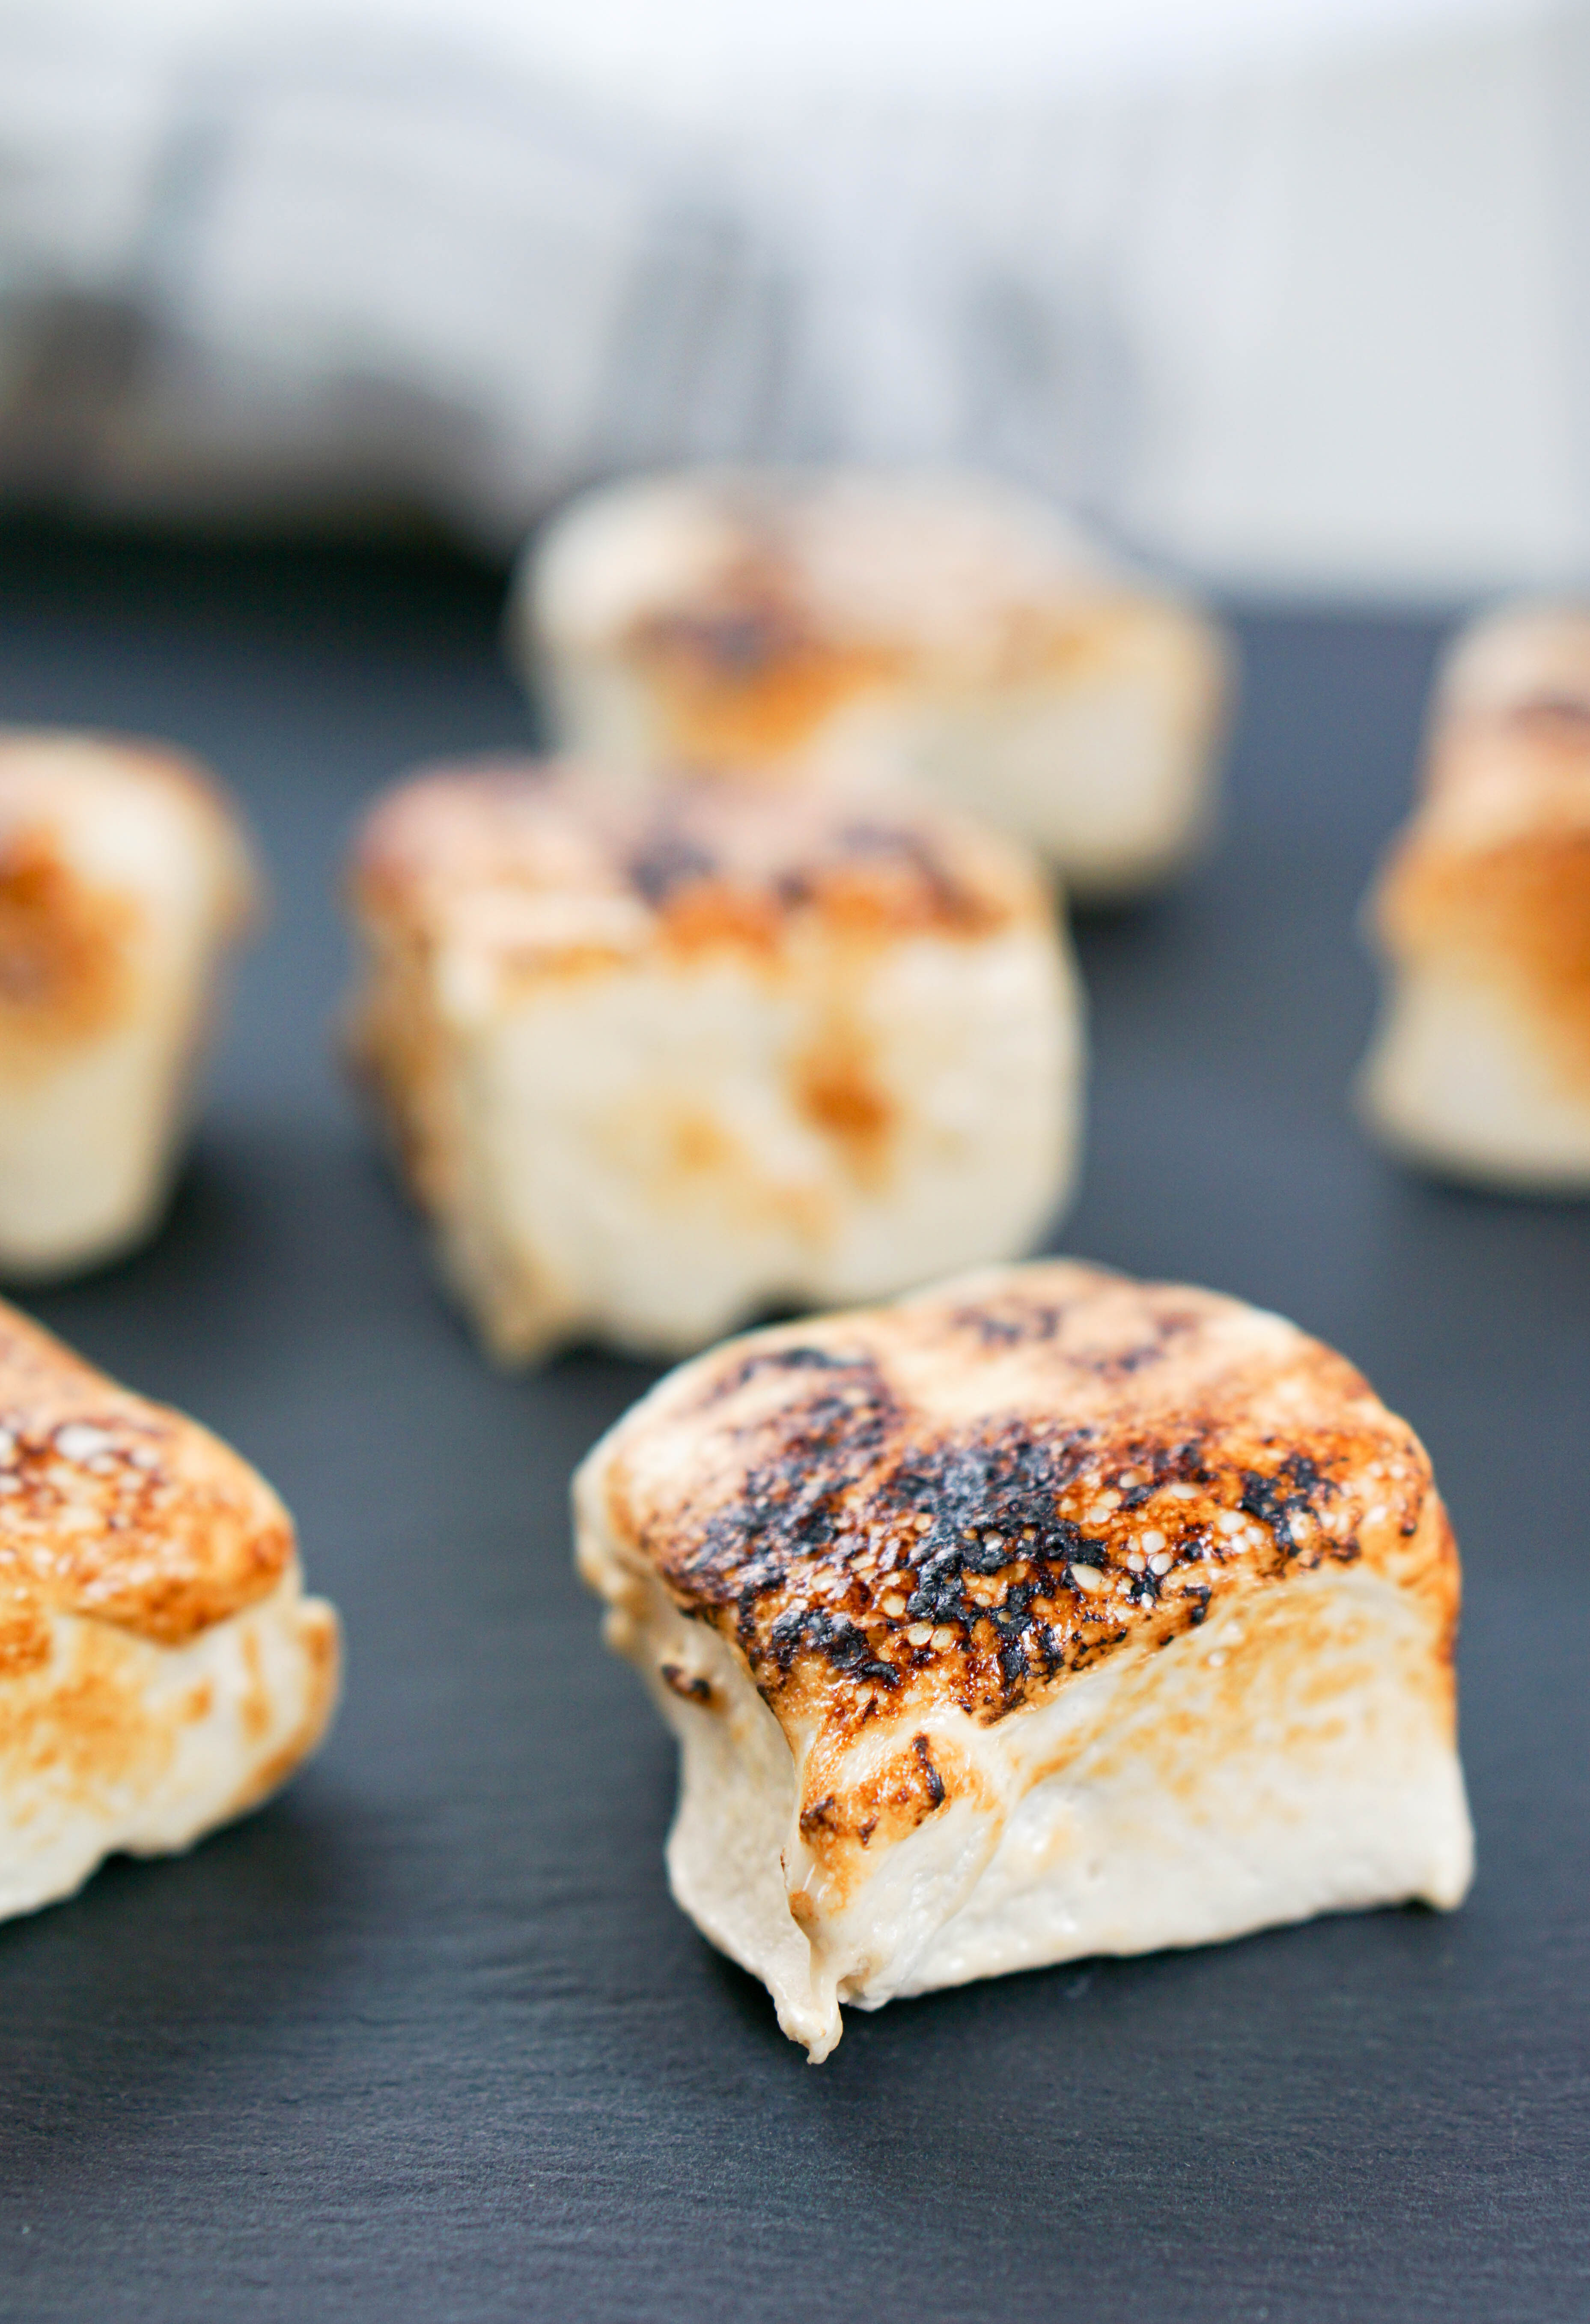
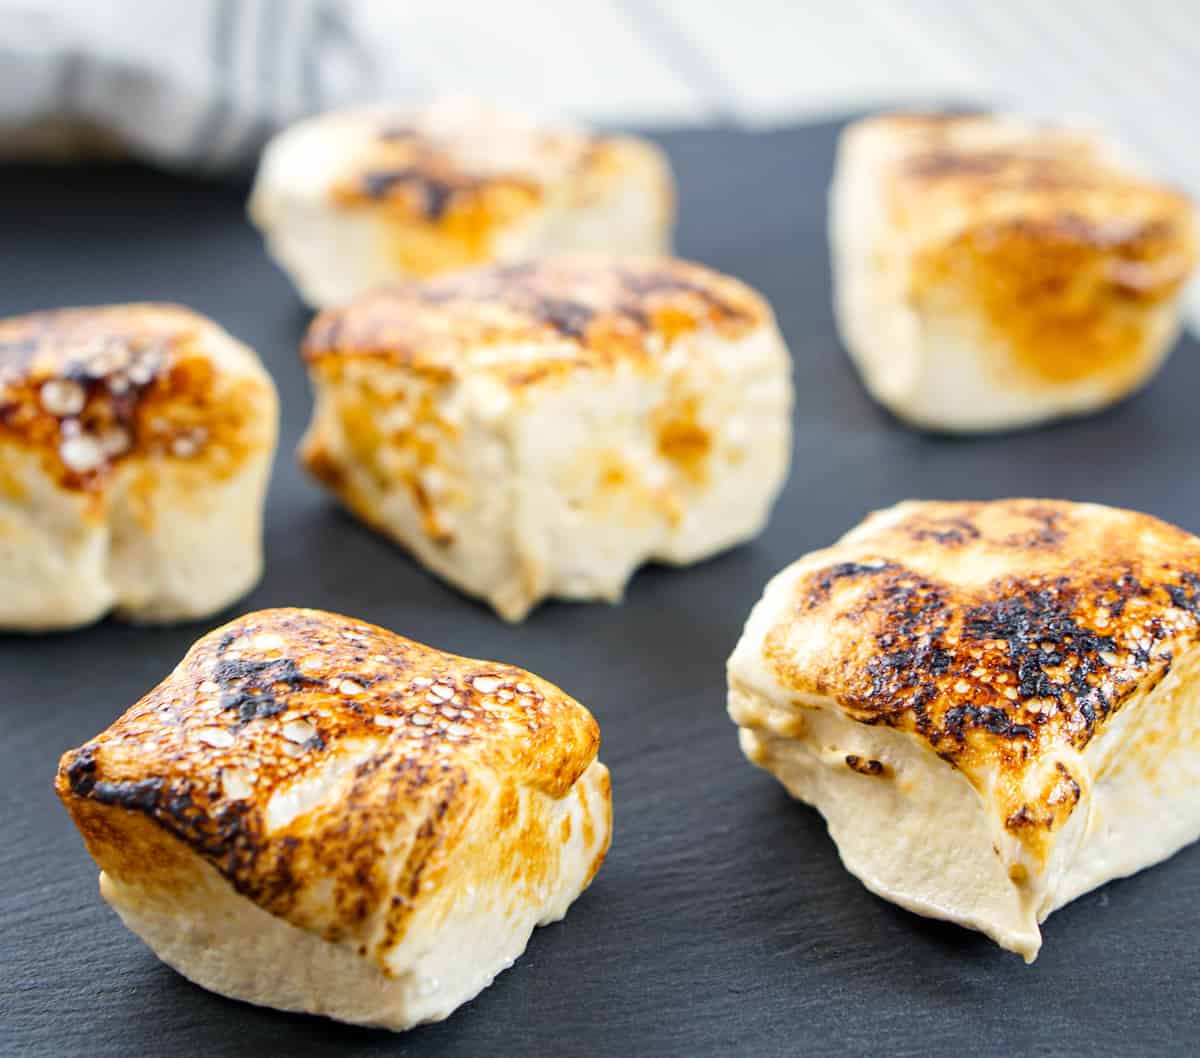
Toasting the Perfect Marshmallow
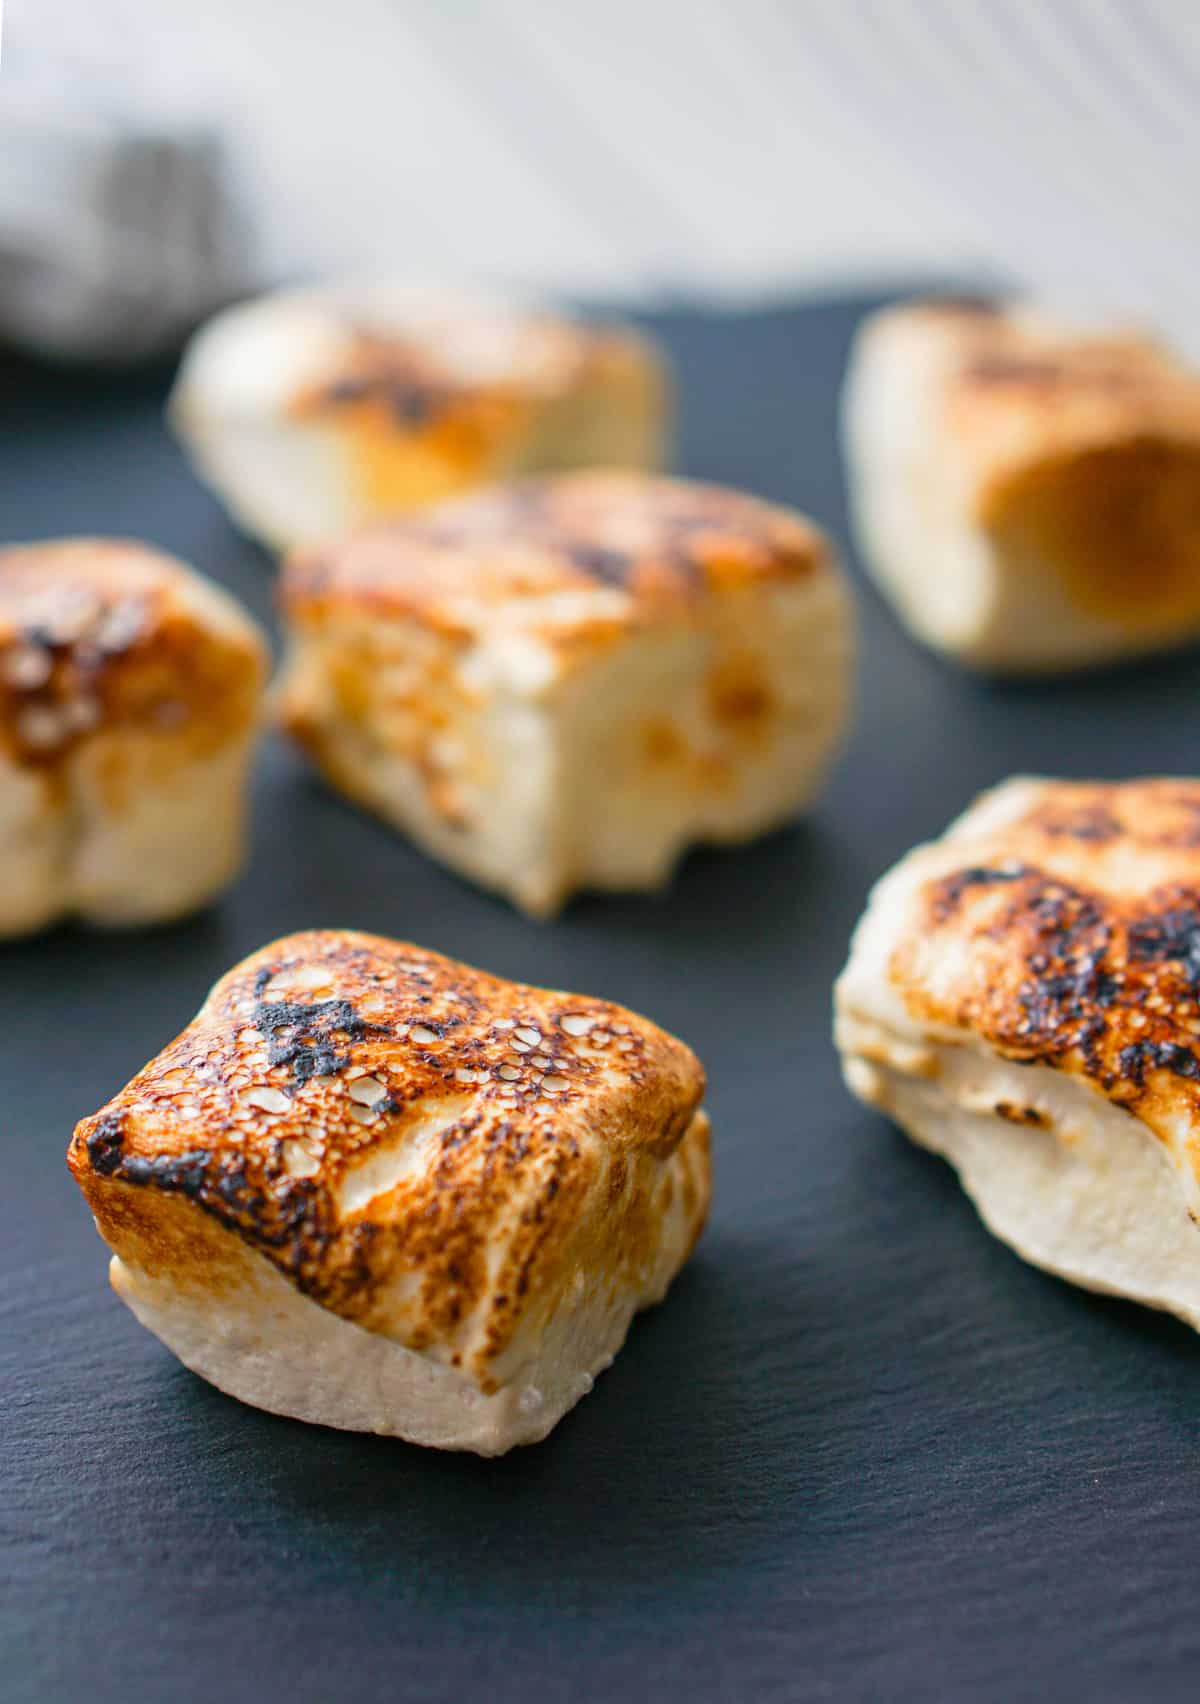
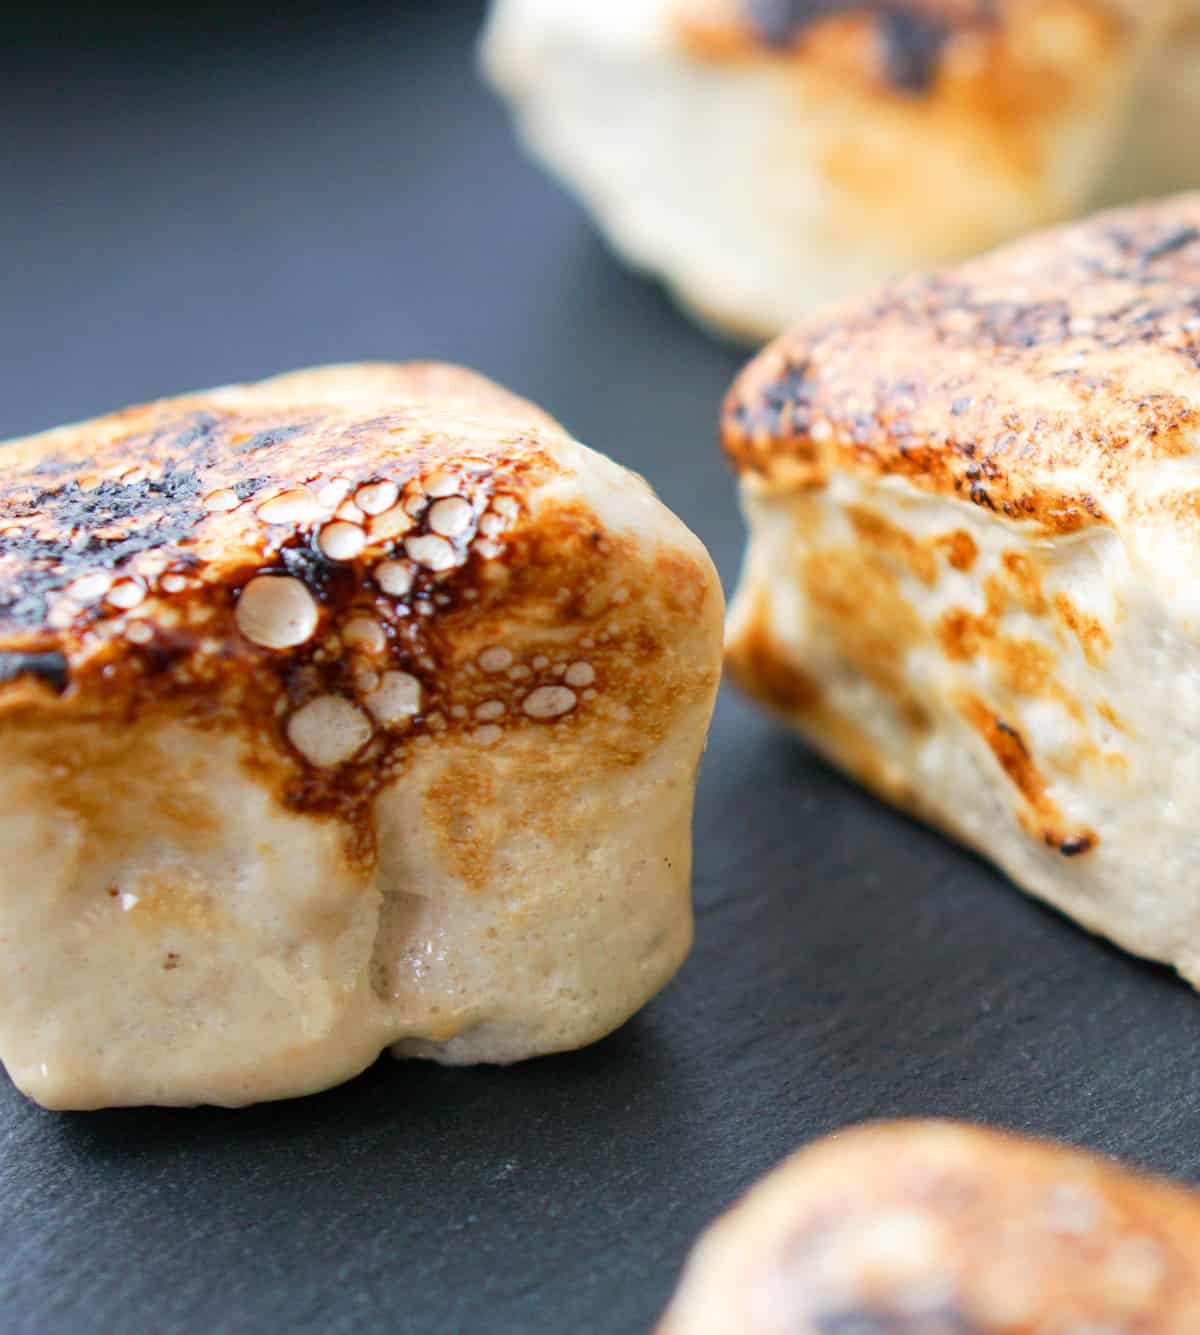
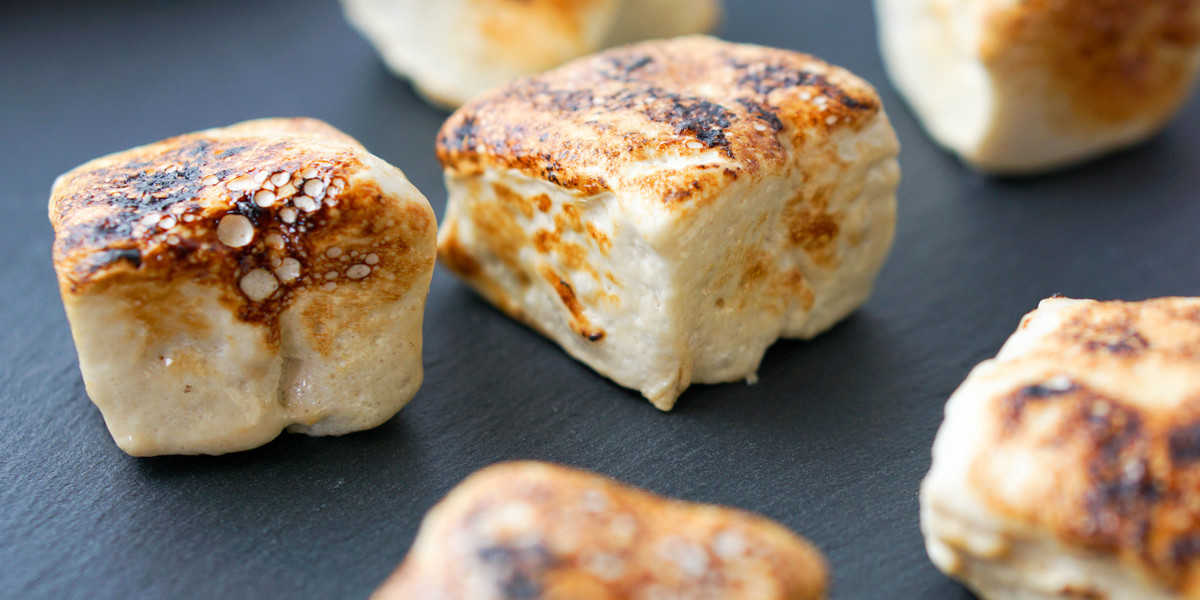
As far as eating marshmallows go, I have a fail-proof, yet highly controversial, method to toast my mallows to absolute perfection. The key is roasting them until they are perfectly and evenly brown just before scorching them. I let the mallow create its own torch-like blaze until the fire burn itself out leaving the entire outer surface scorched black.
That, my friends, is absolute perfection.
So many yumms! It’s like a thin flexible creme brûlée coat that you can enjoy before the sweet, soft marshmallow cloud interior finishes it off. It is my weakness. Luckily, toasting homemade marshmallows is a little quicker. They are naturally soft so I can just warm them by torching (read… carmalizing aka burning) the outsides a little bit. 😉
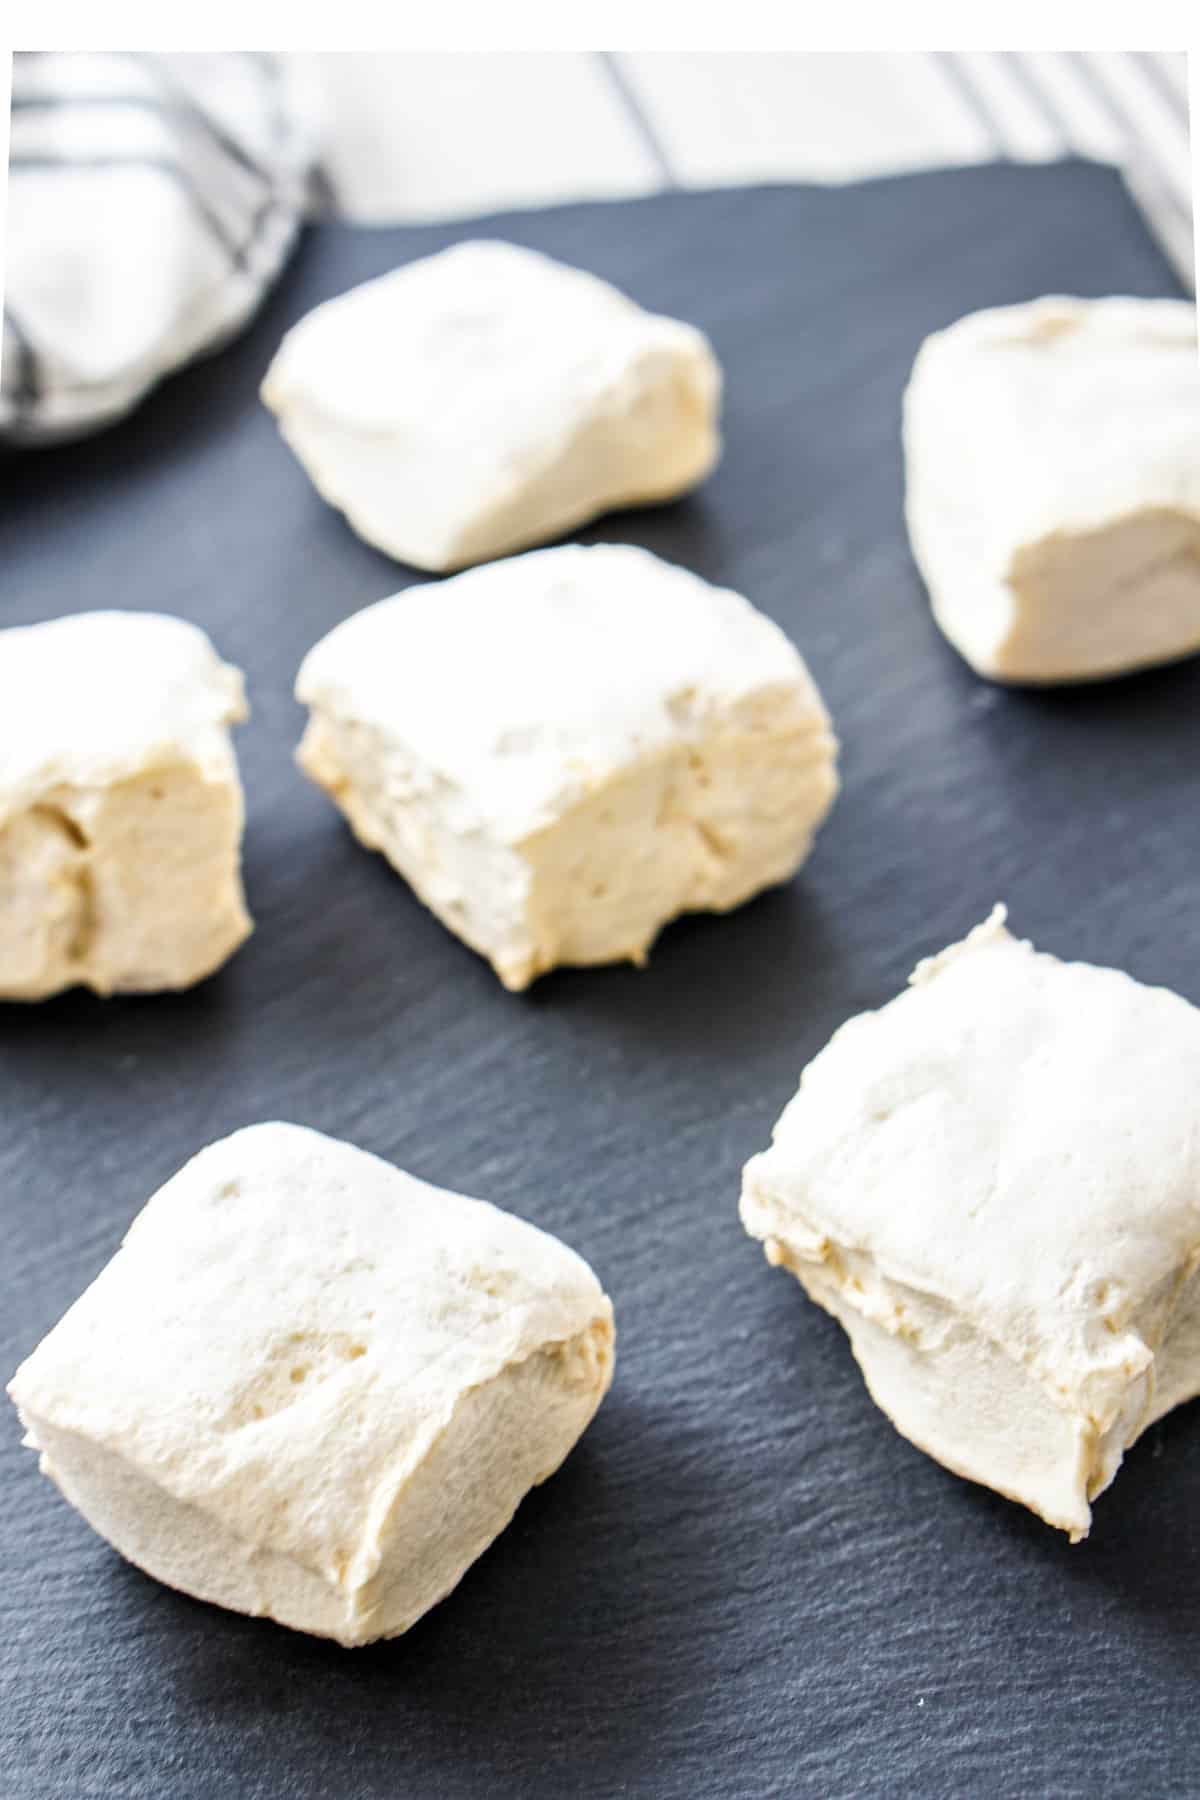
An Old Tradition Made Healthier
I’ve been wanting to make a healthier and lower sugar version of homemade marshmallows for a few reasons:
- i prefer to eat a refined-sugar-free diet and reduce processed foods, (hello refined sugar free marshmallows!)
- the store-bought mallows have so much sugar and unsafe ingredients that I can hardly finish one
- after adopting a clean eating lifestyle, store-bought mallows just don’t taste as good as I remember
- making marshmallows felt like something that would be really hard or something that I couldn’t do, and I love a challenge and
- because I hate giving up good fun things like roasting food in open fire pits with friends. I prefer to improve upon things instead of cast them aside.
- These glow-in-the-dark babies. Oh yeah!
So when I found this recipe on Dr. Axes Facebook page, happened to have all the ingredients on hand, and planned a camping trip for the next day… my fate was sealed. While I can’t call this health food or even remotely close to it, it sure beats the store-bought version! These are made with honey as the only sweetener. I also reduced the amount of sugar even further than the original recipe. Other than honey, the ingredients are gelatin, water and salt.
I used to stay clear of gelatin, but there have been recent articles hailing its benefits . So while I prefer to get my glutamine from bone broth and savory soups, I don’t think gelatin will hurt once or twice a year. Especially if it’s not mixed in with corn syrup and 28 grams of sugar!
Making the Homemade Marshmallows
So, here’s my modification to Healthy Holistic Living‘s recipe. The original recipe can be found here. I reduced the honey and therefore the overall sugar content from the original recipe. I also found I didn’t need to whip the mallows for nearly as long, though this might have to do with the altitude in Denver.
It’s tricky to get the correct temperature on the for the sugar and water mixture. She recommends testing for the sugar to form a candy-like ball in cold water to test if the sugar mixture is hot enough.
I cooked mine on medium, without stirring, for almost 9 minutes and used a knife to dribble some of the mixture into cold water to check it. Instead of forming little balls, the honey mixture formed somewhat of a broken sheet and floated on top of the water.
The first time I tried this homemade marshmallows recipe I didn’t use a candy thermometer and didn’t get the honey mixture as hot as described in the original recipe. The second time, I bought a candy thermometer (they’re 5 bucks) for this, but didn’t find it reliable.
The volume is so small that you have to hold the thermometer, which can be hot, and it is easy to skew the reading by accidentally tapping the bottom of the pan. I’d recommend cooking the mixture for the described time (9 minutes) and making sure it forms a small broken crystallized sheet in cold water.
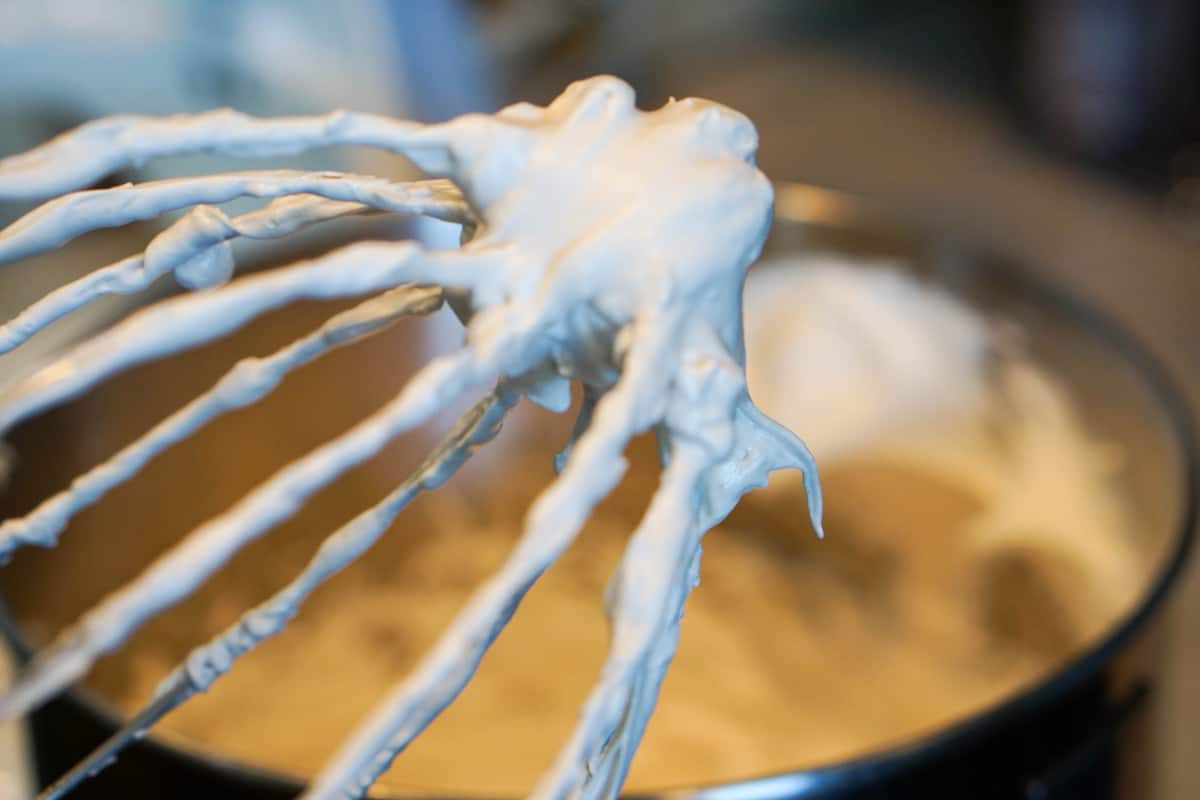
For the final recipe, I only whipped the fluff about 6 minutes, which is half the time indicated in the original recipe. The second time I tried this I whipped the fluff a full 12 minutes. With the extra whipping I found the consistency closer to taffy than marshmallows.
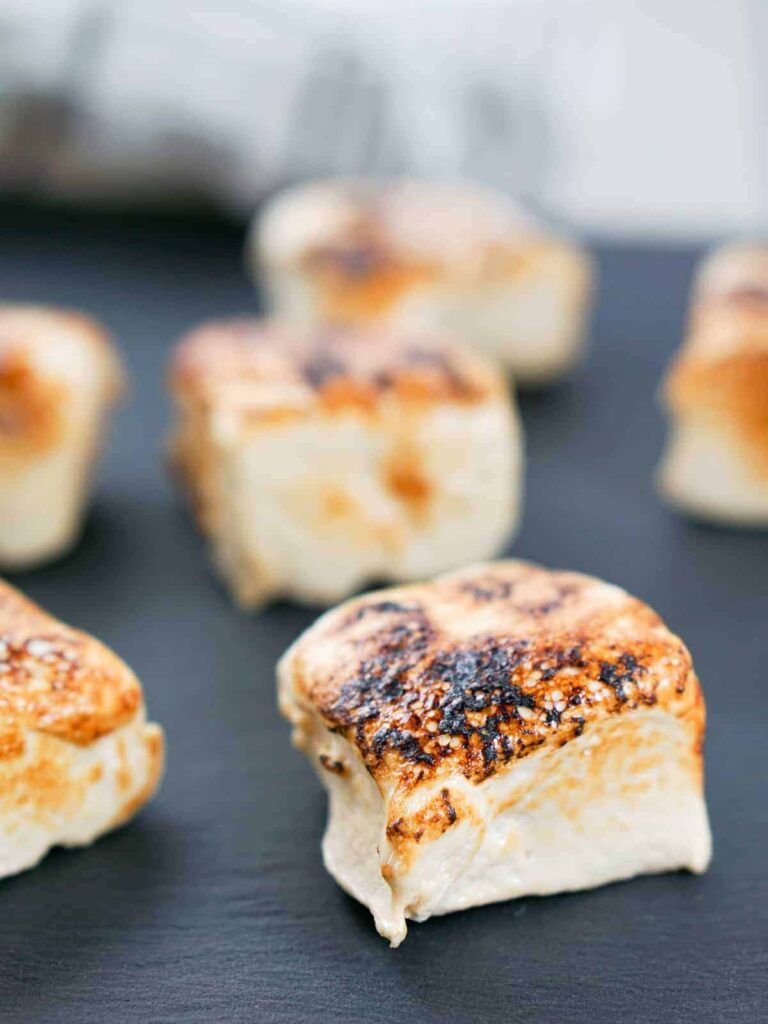
Homemade Marshmallows- as clean as you can get em’
Ingredients
Instructions
-
Put 1/4 cup of water into a mixing bowl.
-
Sprinkle powdered gelatin evenly on top and set aside.
-
Stir honey, salt, and other 1/4 cup of water in a small saucepan until well combined.
-
Turn on medium heat and don't stir the mixture again. The honey will boil, just let it roll.
-
Meanwhile, fill a small bowl with ice water. This is just to test the temperature of the honey mixture.
-
Heat on medium heat for about 9 minutes, then begin testing if the mixture is hot enough. Since it is a small amount of liquid, double-check it's done by using a knife or spoon to drip a tiny bit of the mixture into prepared ice water. Once a small sheet of crystallized honey forms in the ice water, it's hot enough.
-
Slowly whisk the honey into the gelatin. The gelatin will have firmed into a disk at the bottom of the bowl. Make sure to evenly mix the honey and fully integrate the gelatin when you first start mixing them together.
-
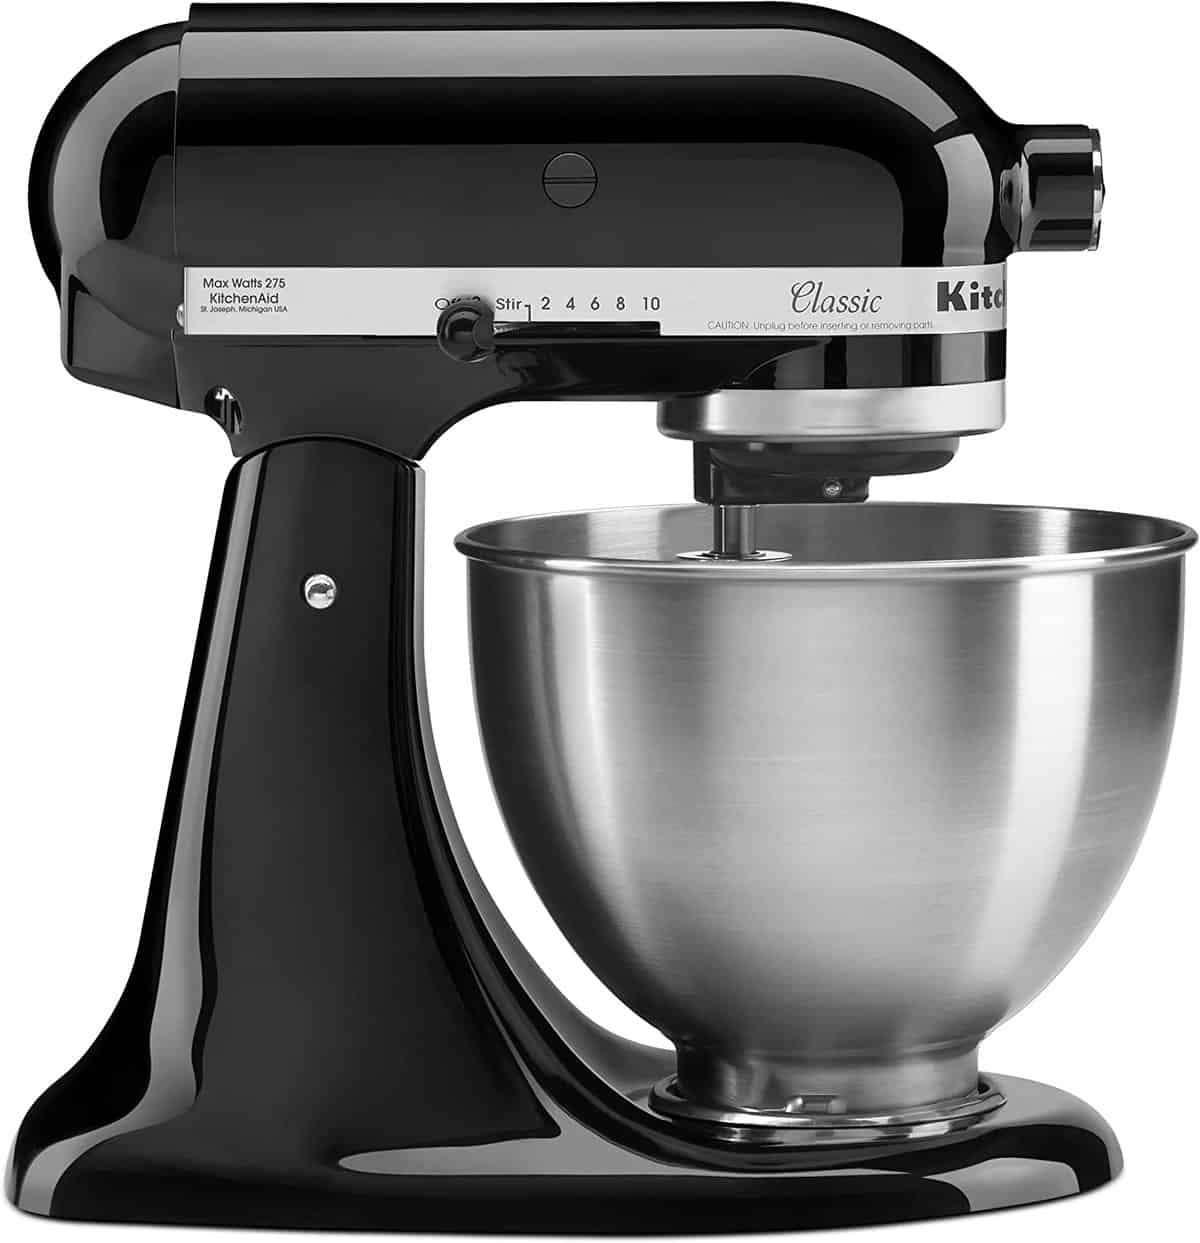
After fully mixed, transfer to an electric whisk. I used my kitchen aid. Mix on high until the mixture is thick and fluffy. It should be thick enough to stick to the beaters. This only took about 5-7 minutes.
-
Pour into parchment lined pans and let sit out to dry, uncovered, for 12 hours until firm.
-
Cut into any size! I like large squares for roasting and tiny squares for cocoa 🙂
-
Serve and enjoy!
Serving Size 1
Servings 18
- Amount Per Serving
- Calories 21kcal
- % Daily Value *
- Sodium 18mg1%
- Potassium 3mg1%
- Total Carbohydrate 5g2%
- Dietary Fiber 0.01g1%
- Sugars 5g
- Vitamin C 0.03 mg
- Calcium 1 mg
- Iron 0.03 mg
* This nutrition information does not tell the whole story of food's nutritional value! Make sure to use your gut intuition on what your body needs, eat your veggies and get 30 plants a week for optimal gut health. This nutritional data is calculated based on the above values and standard brands. This information may vary. Percent Daily Values are based on a 2,000-calorie diet. Your daily value may be higher or lower depending on your calorie needs. Tried this Recipe? Tag me Today! Mention @EatYourWayClean or tag #EatYourWayClean!
Note
Extra whipping of the mixture can lead to a tough taffy-like texture. Do not over mix.


User Reviews