If you thought peanut butter cups were good, prepare to be dazzled. Coconut butter’s thick, creamy and buttery texture tantalizes the rich dark cacao for a mouth party not to be rivaled. It’s sweet but has enough dark chocolate to have the delectable hint of bitter, rich but balanced, and absolutely irresistible. If you figure out how NOT to eat the whole batch at once, tell me the secret.
Once you go coconut butter, you’ll never go back!
Why this Coconut Butter Cups Recipe Works
High-Quality Ingredients
These homemade chocolate coconut cups have simple real food ingredients and are surprisingly quite simple to make. Dark chocolate gives a richer taste and cuts the sugar content.
Coconut butter is already thick, so it’s the only ingredient you need in the filling.
These homemade coconut butter cups are free of refined sugars and oils. They are all-around a healthier treat because you get to choose and control the ingredients!
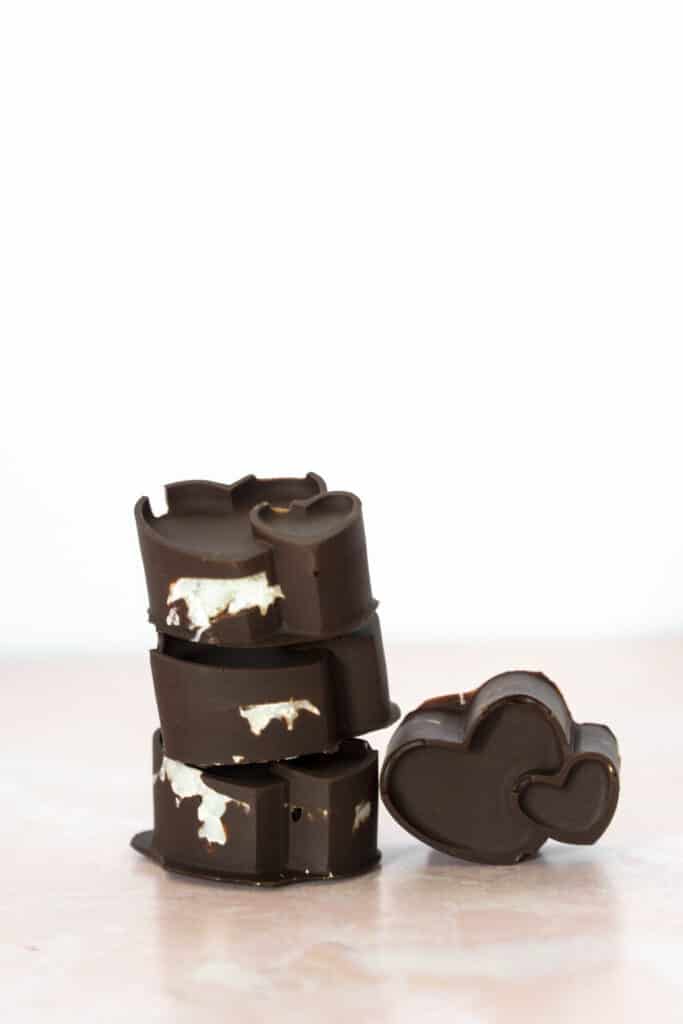
Simplicity
The whole process takes about 35-45 minutes, including the time to set the cups. Skip your grandma’s double boiler and melt the chocolate squares directly in a saucepan on low heat. Trust me, it will be fine and not even discolored.
The rest of the recipe involves melting, mixing, pouring, and waiting.
Dark Chocolate Coconut Butter Cup Ingredients
You will need 2 dark chocolate bars, 1/3 cup organic coconut butter, and 1 tbsp of coconut oil. That’s it!
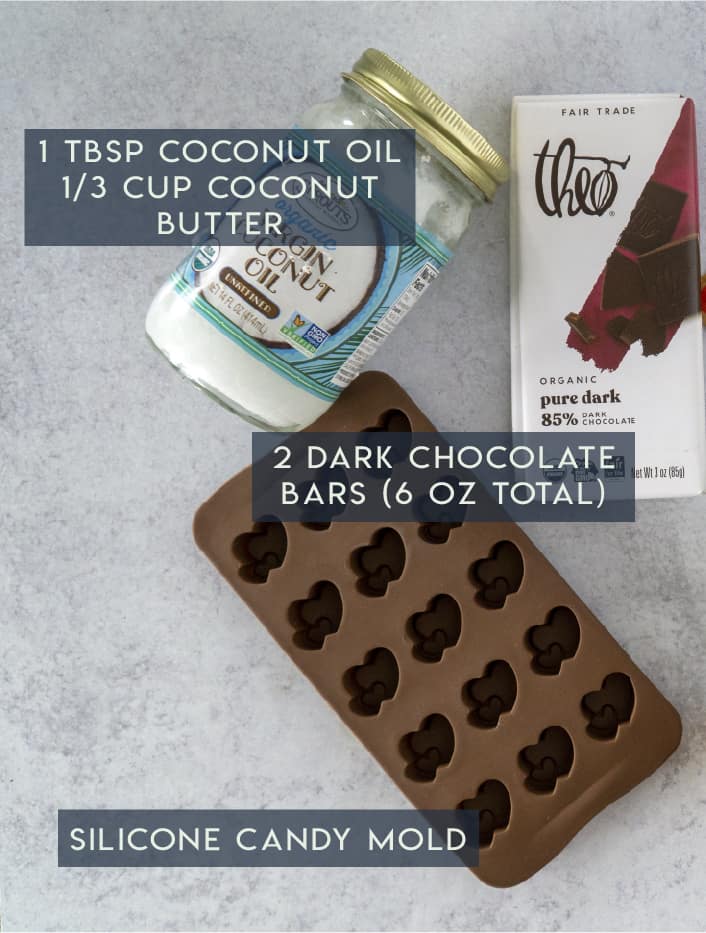
Coconut Butter
First of all, what is Coconut Butter?
Coconut Butter is similar to any other nut and seed butters. It is coconut pulp, dried, and blended into a paste. It is less oily than nut butter and has a rich creamy texture without drying out your mouth.
You know that sensation I’m talking about when you mouth an entire spoonful of peanut butter!
And why am I putting it inside my chocolate cup?
Coconut butter is an amazing invention that should be replacing peanut butter in spoons everywhere!
It’s the perfect sweetness and texture to pair with dark chocolate. I don’t know how else to describe it except it will blow your mind and change your life.
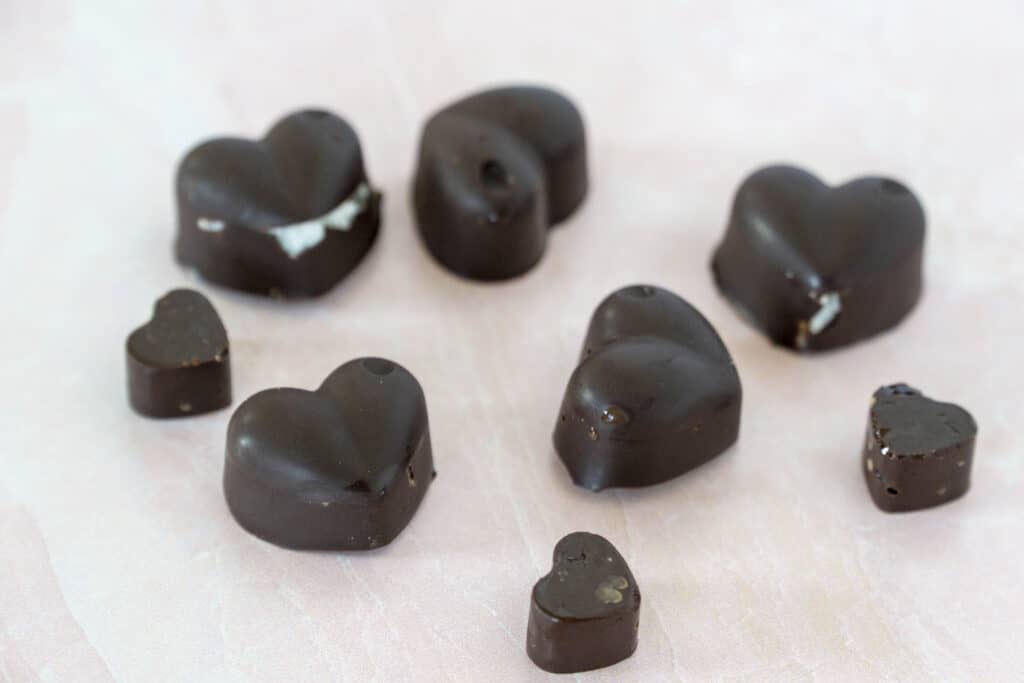
Choosing your Dark Chocolate
We chose dark chocolate for 2 reasons: taste preference and nutrition. I just think dark chocolate is the best chocolate and it is naturally more suited to pair with the coconut flavor.
85% or higher dark chocolate means it is made mostly of cacao beans which have some nutritional benefits and typically have fewer fillers like sugar, milk, and oils.
All of these are ingredients are stocked in my pantry and I buy Theo Dark Chocolate in bulk so I can make them anytime!
Why Homemade?
First of all, coconut butter cups aren’t that easy to find in stores. Eating Evolved sells them, and they are how I first discovered the combo. Those are great! But it’s cheaper and cleaner to make them at home.
I learned over the years that many of those had way too much added sugar and a whole lot of extra oils that just aren’t really necessary. I also like being able to control the sugar content when I make homemade coconut butter cups!
What you’ll Need
Besides the ingredients, you’ll need a stovetop, a saucepan, and silicone molds.
Silicone Candy and Chocolate Molds
This recipe creates 20 mini cups, though the specific quantity will be determined by your specific molds and their size.
However, the recipe is easy to adjust by just increasing or decreasing the quantity of chocolate and coconut butter. You don’t need to stick to specific ratios.
The important part of picking chocolate or candy molds is to choose ones that have food-grade silicone.
Then you can choose any shape you want!
The Heart and Pig Molds
These coconut butter cups are in the cutest little hearts and pig faces, but the beauty of making them at home is that you can use any mold you have, any time of the year, to make whatever shape you want.
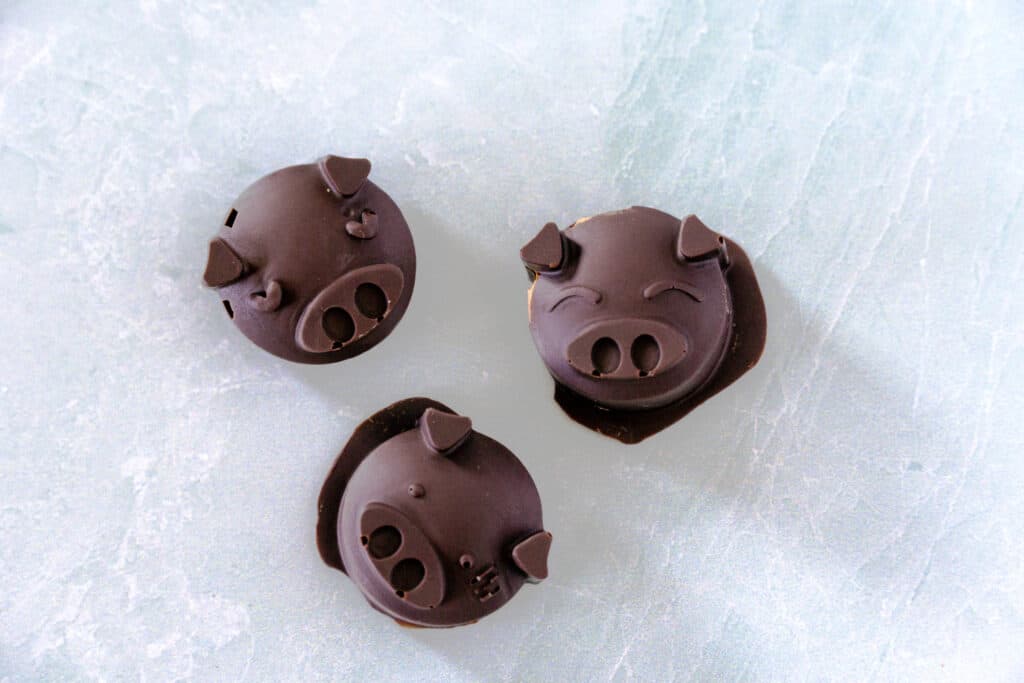
Finding a Mold for Any Occasion
I recommend finding a few shapes you like that are versatile. For example, hearts work well for Valentine’s day and stars work for most occasions!
Here are a few particularly cute shapes for different seasons and holidays:
- Solstice Moons and crescent moons
- Superbowl Footballs
- Easter Eggs
- St Patties Clovers
- Summer Flamingo and Cacti
- Halloween Pumpkins
- Autumn Leaves
- Hanukkah Star of David or Dreidels
- Christmas Trees and Soldiers
- Typical Candy Cups
Making the Coconut Butter Cups
Melt the Chocolate
Most recipes will tell you to melt chocolate in a double boiler to disperse the heat and avoid burning or discoloring. Chocolate burns easily and quickly.
Additionally, if the chocolate gets too hot too quickly, it will discolor and leave white streaks. This is basically the cacao butter separating from the cacao liquor. It can also mess up the texture.
However, double boiling takes a long time and requires more dishes than I’d like to do! So I tested melting dark chocolate without a double boiler and it works excellently!
I can confidently say I’ve made this recipe way more times than I’m comfortable admitting and melting chocolate on the stovetop hasn’t failed me once.
By all means, if you are a competent double boiler and you have the skills, double boil the chocolate before pouring into the molds! However, if you want a quick and dirty option, here are two.
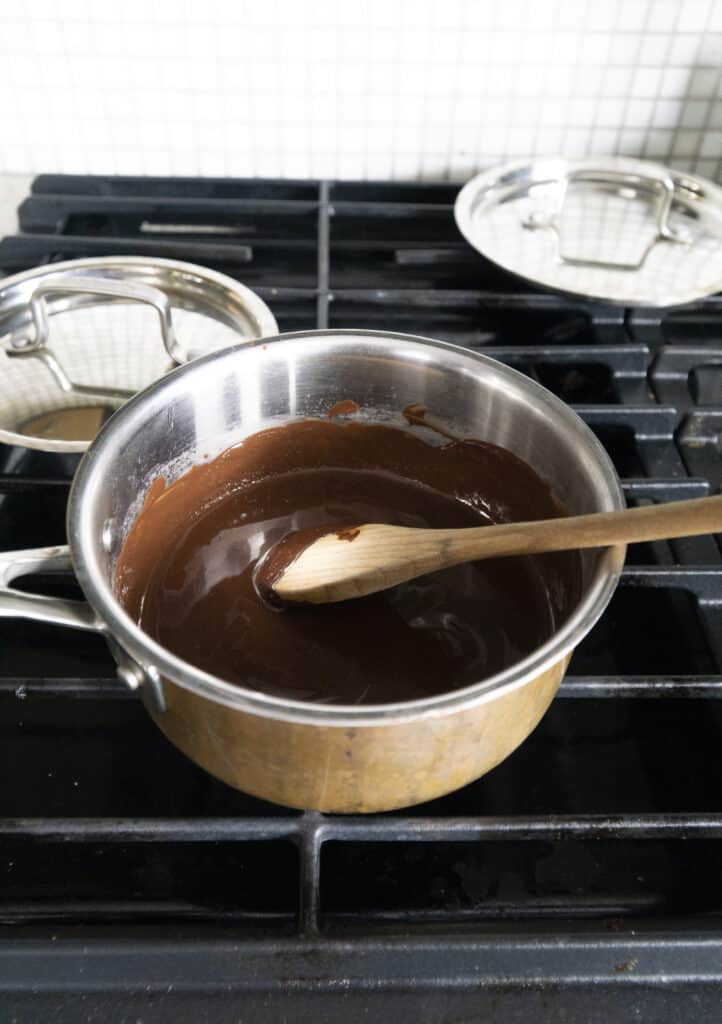
Option 1 (what I do): Melt on low heat on the stovetop
This is my favorite method because it doesn’t use the microwave and only uses one pan.
Simply break the chocolate into squares and place them in a small saucepan on low heat. stirring with a wooded spoon occasionally. The chocolate will melt and the stirring will promote dispersed heat and prevent burning.
Option 2: Microwave
I generally avoid the microwave, however, this is a quick and easy method that works well if you’re avoiding the stovetop.
The key is to heat the chocolate in 30-second increments and then stir the chocolate squares well in between. Only microwave until the chocolate is partially melted. In other words, avoid microwaving the chocolate until it is fully melted. Instead, use stirring to spread the heat evenly. This will prevent burning.
There should be small chips of unmelted chocolate after the last session of the microwave. Use a spoon to mix the chocolate and the warm chocolate will melt the remaining pieces of hard chocolate.
Stir the coconut oil into melted chocolate
Once the chocolate is warm and melted, simply stir in the coconut oil until well combined. This is an optional step but it does allow for the chocolate to pour more smoothly and can make filling the cups easier.
I’ve made plenty of these cups without the coconut oil and they are just as tasty!
Fill the Molds
There are three layers in the cups and therefore three steps in filling the molds
- Layer of chocolate
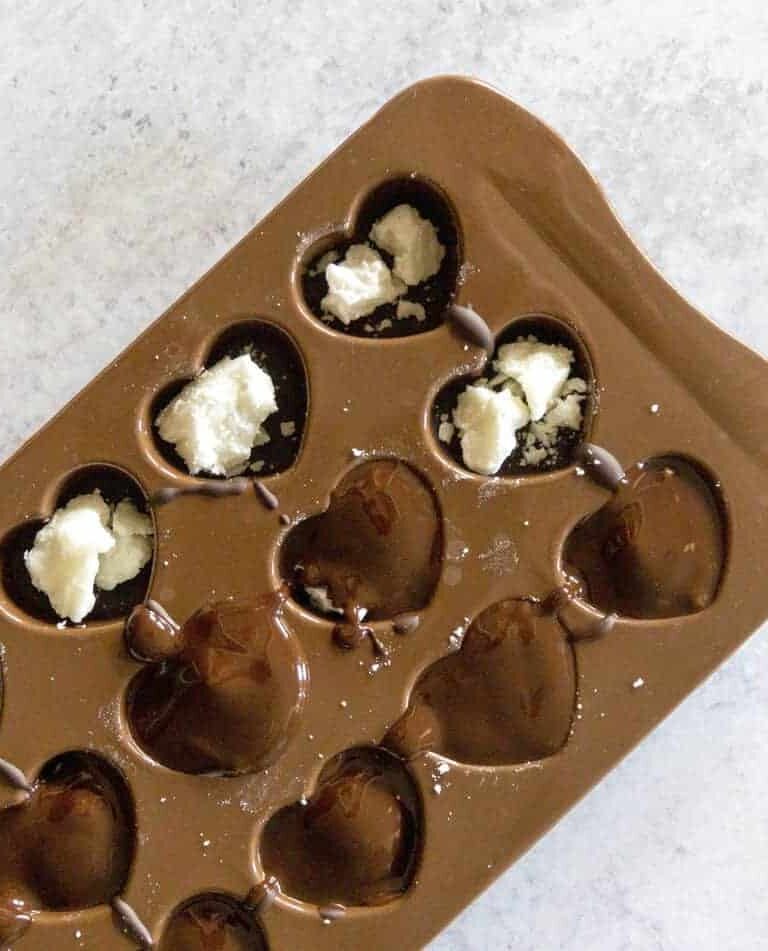
- Pieces of Coconut butter clumped together
- Top coast of chocolate, making the top and filling in the sides
First Chocolate Layer
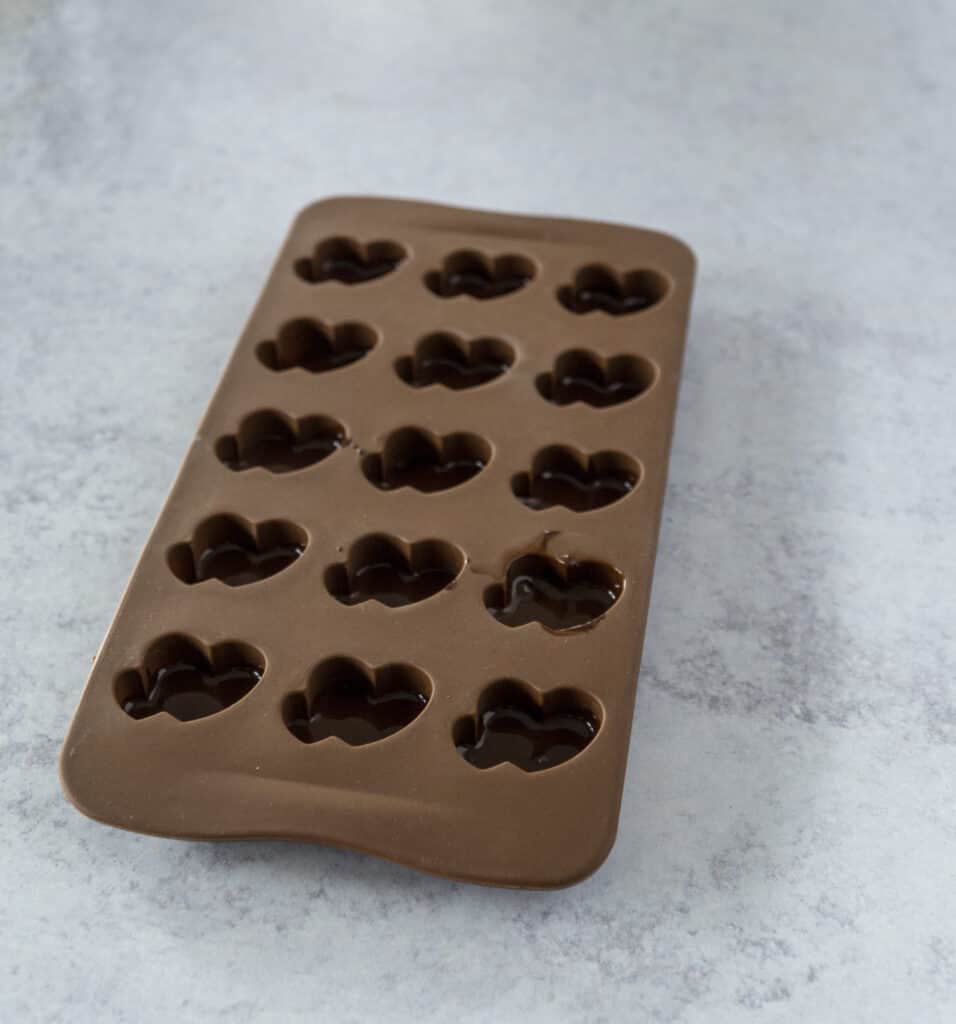
After pouring a layer of chocolate into the molds, make sure that the full bottom is coated and spread evenly. Slightly tapping the molds against the countertop will help evenly distribute the chocolate and also remove any air bubbles. This is just gently lifting the entire mold or a corner of the mold about an inch off the table and letting it fall back to the table.
The first layer of chocolate needs to be a little thicker. This creates stability for when you are removing the chocolates from the mold.
When removing the hardened chocolates, you push the chocolate up from the bottom. I’ve found that a slightly thicker chocolate layer on the bottom helps to keep the full candy intact.
Put the molds in the fridge for about 3-5 minutes so that the first layer of chocolate is set before adding the coconut butter. This makes sure you have a solid layer of chocolate before getting to the coconut butter.
Coconut Butter Center
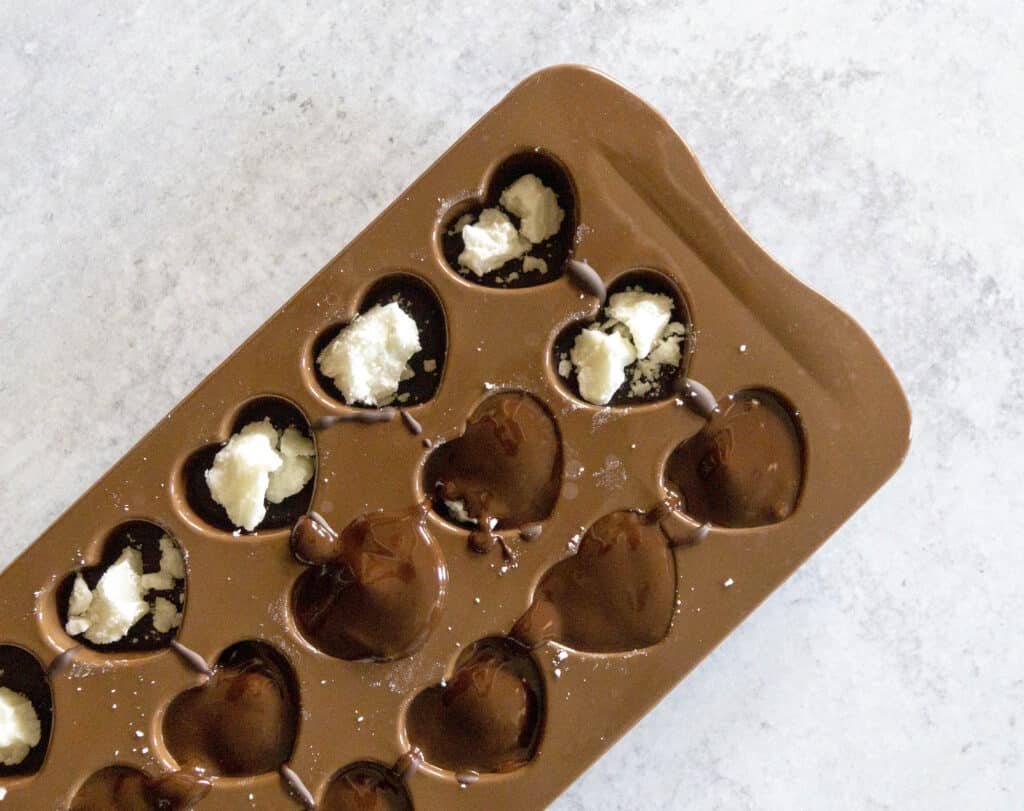
Coconut Butter is a little thicker than other kinds of butter, so you’ll have to use a knife and cut it out of the jar.
Form small balls of the coconut butter and place them in the center of each mold. You’ll want to reduce any coconut butter touching the side so that chocolate can come in and fill the edges.
Final Chocolate Layer
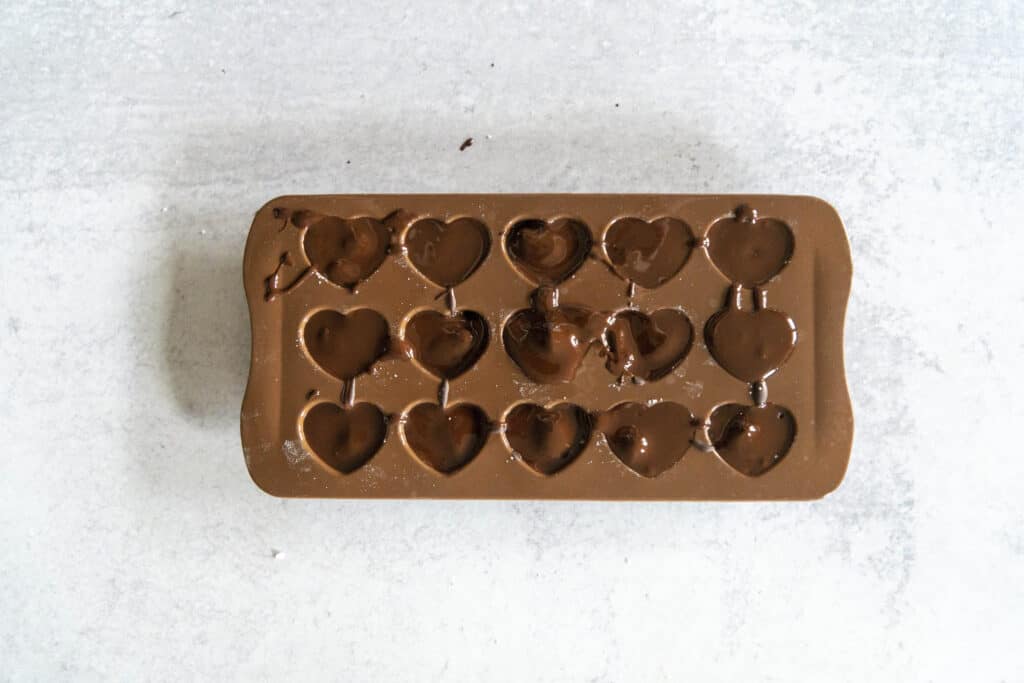
The last layer of chocolate will create the bottom of the cup as well as the sides. You may need to lightly reheat the chocolate so that it is warm and liquidy enough to gently slide into the spaces between the coconut butter balls and the edge of the mold.
Pour the chocolate on top of the molds. For mini molds, the chocolate should fall easily into the sides. For large molds, consider drizzling chocolate around the edges first and then coating then covering the remainder of the mold up with chocolate.
Fill the mold to the top and then refrigerate the completed molds for another 5-7 minutes or until fully set.
Expert Tips for Homemade Dark Chocolate Coconut Butter Cups
- Stir the chocolate often and heat on low heat to prevent burning and discoloration
- Create a thicker layer on the bottom of the molds for more stability and easier removal
- Don’t get the chocolate too hot. It should be just warm enough to pour into the molds. Chocolate burns easily and too hot of liquids can cause chemicals to leech out of the silicone molds.
- For thinner chocolate layers, add additional coconut oil to thin the chocolate
- You can make easily transform into Peanut Butter Cups.
Chocolate Coconut Butter Cups
Description
A mind-blowing a life-changing alternative to PB cups, these dark chocolate pockets filled with rich and creamy coconut butter will leave you asking for more and wondering where coconut butter has been your whole life.Ingredients
Instructions
-
Melt the chocolate with coconut oil in stovetop on low heat, stirring often with a wooden spoon.
-
Pour a layer of chocolate into molds, making sure to cover the bottoms. Tap to remove air bubbles. Let set in the fridge for 3-5 minutes. Remove chocolate from heat.
-
Dollop ball of coconut butter on top of chocolate, making sure not to touch the edges of the mold and leaving space for a layer of chocolate on top. Let set in the freezer for 5 minutes.
-
Pour chocolate over tops of mold, covering sides and top of the coconut butter. Tap to remove air bubbles. Let sit for 10 minutes or until set.
- Amount Per Serving
- Calories 72kcal
- % Daily Value *
- Total Fat 6g10%
- Saturated Fat 3g15%
- Cholesterol 1mg1%
- Sodium 3mg1%
- Potassium 61mg2%
- Total Carbohydrate 4g2%
- Dietary Fiber 1g4%
- Sugars 2g
- Protein 1g2%
- Vitamin A 3 IU
- Vitamin C 1 mg
- Calcium 7 mg
- Iron 1 mg
* This nutrition information does not tell the whole story of food's nutritional value! Make sure to use your gut intuition on what your body needs, eat your veggies and get 30 plants a week for optimal gut health. This nutritional data is calculated based on the above values and standard brands. This information may vary. Percent Daily Values are based on a 2,000-calorie diet. Your daily value may be higher or lower depending on your calorie needs. Tried this Recipe? Tag me Today! Mention @EatYourWayClean or tag #EatYourWayClean!
Note
- Don’t let chocolate overheat. This can cause burning and leach chemicals from the silicone molds.
- You can use sustainable palm oil or cacao butter instead of coconut oil. You can also just skip it for thicker chocolate.
- A slightly thicker layer of chocolate on the bottoms of the mold will make the chocolates easier to remove.


